Fall Planting: Getting a Head Start on Spring
Some gardeners plant seedlings in mid-summer for a fall harvest, and some plant seeds or seedlings in the fall for a summer harvest. But not many gardeners realize that you can plant in the fall for an early spring crop.
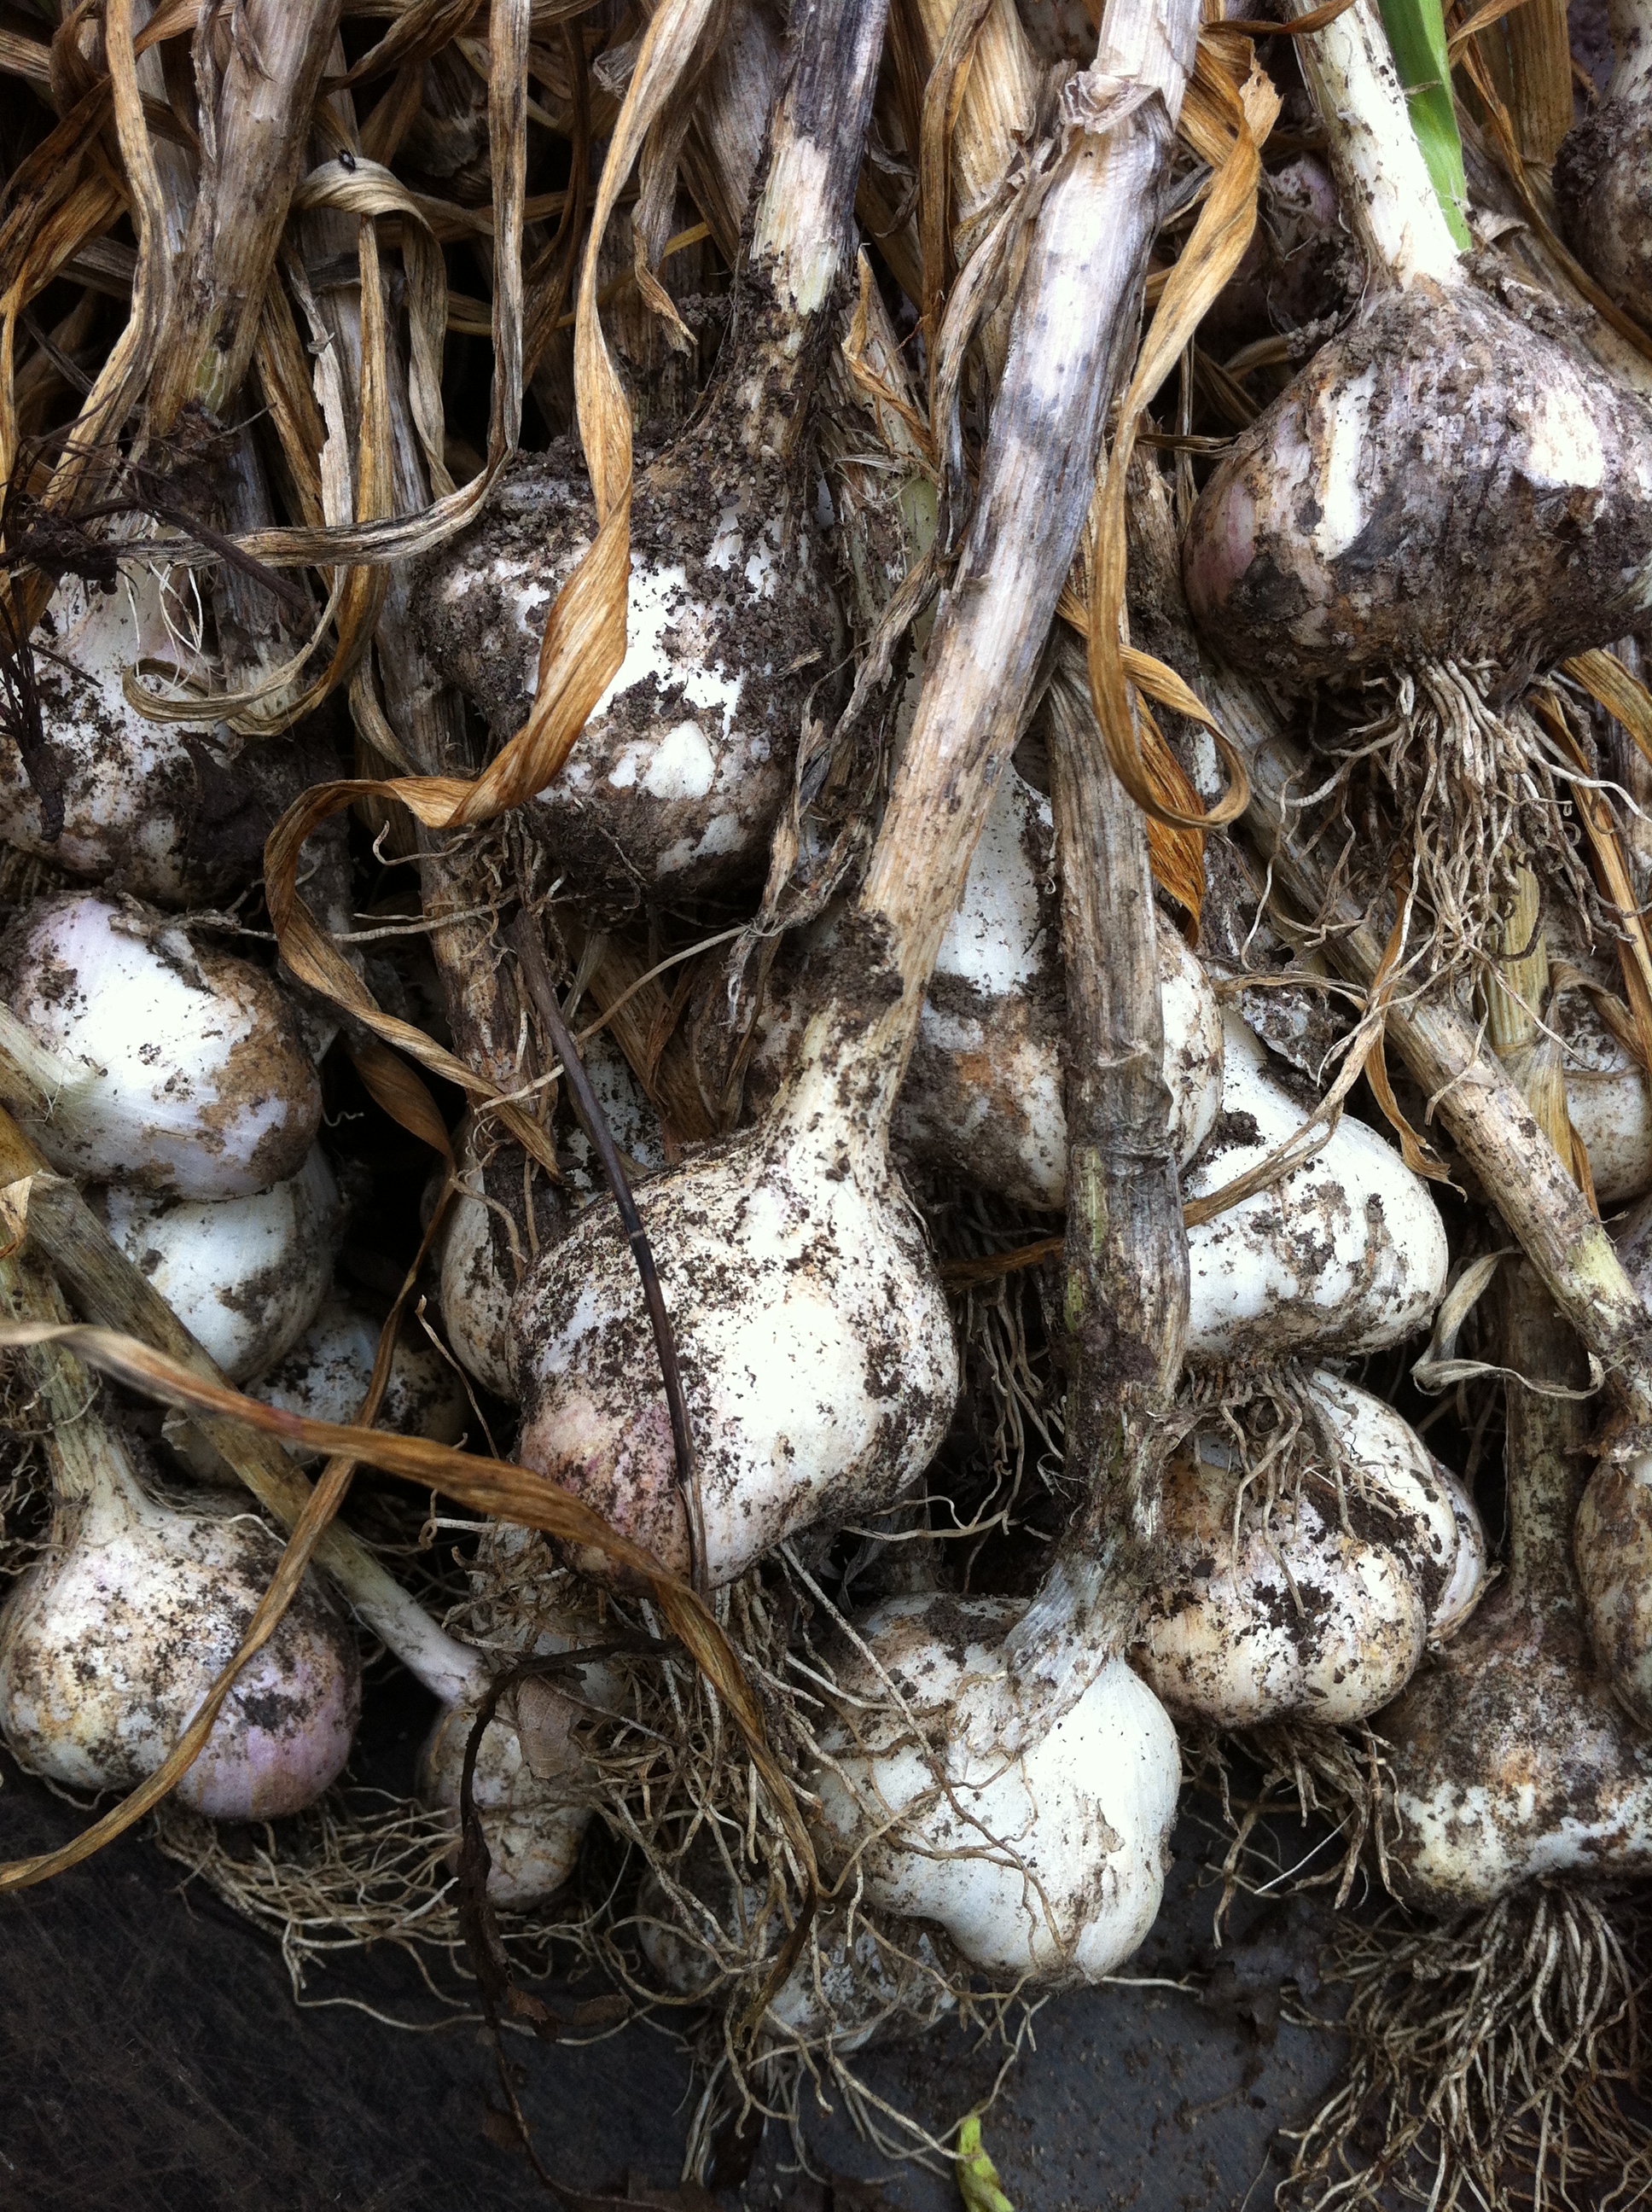 One popular fall crop is garlic. Depending on what time the garlic seed goes in the ground, it will either send up vegetative growth or lay dormant until spring. If the garlic seed is planted in early to mid-fall, it will start to germinate and send up its first leaves. These green leaves will remain above ground through winter cold and snow, and then continue to grow as the spring days get longer and warmer. If the garlic is planted later in fall, it will germinate in the spring. A few other cold-hardy plants can make it through our tough winters this way, including scallions, a relative of garlic.
We can also take a clue from annual plants in getting a head start on the spring. Have you ever let your lettuce plants go to seed in the summer, only to find some volunteer lettuce sprouting up the next year in another spot? Allowing seeds to remain in the garden over the winter can mean earlier germination in the spring. Try planting some English peas, lettuce, spinach or mixed green seeds in late fall, while the soil is still able to be worked, and cover the seeds with leaf mulch. In the spring, when there is much more to do in the garden, you will have one less task to think about.
This doesn’t apply only to vegetables – you can also sow some wild flower mix in your garden. This will give you a nice show in summer when your tomatoes and peppers are flowering, attracting pollinating insects to help your fruiting yield.
Planning ahead will simplify your gardening tasks in the spring, and give you another thing to look forward to in the garden. Good luck!
Putting the Garden to Bed
Fall is now well under way, and while gardening season is mostly over for our favorite summer vegetables, there’s still work to do! Cleaning up the garden, amending the soil, and mulching now help make sure your garden is in the best shape for planting when spring comes around.
The first thing to do is protection and clean up. There are some plants in your garden that just need to be tucked in for winter. Kale, collards, beets, carrots, and other root crops just need a good mulching to protect them from frost. While they won’t do much growing, they’ll happily stay tucked in until you’re ready to harvest them in late fall or early winter.
Warm season crops however, like tomatoes, squash, and beans, may be dying back already on their own. If not, their growth halts with colder temperatures, and they will soon succumb to frost. All weeds and plants that won’t survive winter should be removed, and if they’re disease free they should be composted. If they are diseased you’ll want to dispose of them separately, so as not to harbor any diseases in your compost pile that could later affect your plants.

Adding leaves or straw can be an inexpensive way to mulch your beds and add organic matter
Once your garden is cleaned out, turn or gently till the top of your soil to expose pests (read more about reducing next year’s pests here). Then, it’s a great chance to use mulch to amend your soil. You can find great mulches right in your yard- fallen leaves, grass clippings and compost all make great mulches and will break down over the winter, enriching your soil.
Another option for mulching is to sow a cover crop (aka “green manure”), a crop grown to protect and enrich the soil. Cover crops grow quickly, you can plant them in the fall, then in the spring turn them into your soil where they’ll break down, adding nutrients to the soil. Cover crops also help improve soil structure and prevent erosion. Good options are rye, wheat, and red clover. Planting a cover crop is similar to planting grass seed- rake the area smooth, broadcast the seed at the rate the package recommends, lightly rake again, and water.
A little work in the fall will go a long way, and you’ll appreciate your forethought when spring arrives!
Fall Garden Clean-up Reduces Next Season’s Pests
Fall clean up plays an important role in a healthy garden and should be addressed from September to early November. Addressing pest issues in the fall, when insects are less active, can cut back on problems the following year.
 At the end of the summer months when colder weather approaches, insects are faced with the option of going to warmer climates or staying tucked away until spring arrives. The majority of insects will stick out the cold months by entering diapause, a phase of life that slows down development and allows for continued life at a much slower rate, often in the pupae stage. Knowing when and where an insect enters diapause will help you find and remove potentially harmful insects before they find your favorite garden plants next year.
Ground cover, leaves, bark, twigs, and any sort of organic material, including this year’s plantings, can be an overwintering place for insects. It is important to remove dead plant material and cut back perennials with a reputation for pest issues.
The majority of insects who burrow into the soil to overwinter can be found in the top few inches. Once the garden is cleaned up, turning the soil will help bring these pupae to the surface where they are likely to fall victim to both biotic and abiotic factors such as predator insects and cold temperatures.
Another step to kill any potential pests is to apply nematodes after turning the soil. There are different nematodes specific to each pest, so correctly identifying the insect at hand is important. Nematodes are commercially available through companies that include Arbico Organics, Bug Logical, and Planet Natural. Once nematodes are applied, a layer of mulch can be applied to further reduce the chance of insects either burrowing into the soil or exiting, retain moisture for nematodes to work properly, and promote healthy microorganisms. To make sure you correctly identify the pest, you can take its picture and send it to to the Dr. Phipps’ Greenline email (greenline[at]phipps.conservatory.org) or calling (412) 665-2364. Phipps Master Gardeners volunteer to help sole your home gardening questions.
Fall pest control methods such as these take advantage of insects’ life cycle to give your garden an advantage through the next growing season.
Managing Raspberries
If you have ever seen raspberry brambles out in the wild, then you can understand why the thorny canes can present a challenge at harvesting time. But pruning techniques can affect the harvesting times and help to manage your berry patch. Each technique results in a different harvesting time and a different yield of berries. These techniques can apply to blackberries as well as raspberries.

Golden Raspberries
The first pruning method is to prune the primocanes, or the first-year growth. Allow the canes to grow through the winter, then cut them down to the ground in January or February. A new flush of growth will come up – these are new primocanes. They will bear a large yield of fruit on the ends of the canes in the late summer or fall. Be ready to keep up with the harvest, because the canes will bear fruit for several weeks. This method results in an easier-to-pick harvest with just a single pruning, but the fruit arrives much later than the second method.
The second pruning method results in an earlier harvest. This method allows the floricanes to bear fruit. If you allow the primocanes to grow through the first year, overwinter, and keep growing into the second spring, they are now known as floricanes. These will send out leaves and flowers, then fruit. The floricanes will produce berries earlier in the summer. The challenge is that the plant will also send up new primocanes, which must be pruned out between the thorny floricanes. Many raspberry growers keep their berries in narrow rows to make it easier to thin out the new canes.
You can prune your raspberries the easy but late-bearing way or the more challenging but early-bearing way, and enjoy the sweet reward of raspberries in your own back yard.
All About Apples
Did you ever hear the saying an apple a day will keep the doctor away? Wonder what all the fuss is about? Often called one of the world’s most healthy foods, apples are unassuming but full of health benefits!
 Apples are a crisp, white-fleshed fruit with a red, yellow or green skin. The apple is actually a member of the rose plant family. Other members of this family include apricots, cherries, peaches, pears, plums, raspberries, and almonds. All of these plants depend on pollinators like the honey bee and mason bee for pollination. Click here to learn more about mason bees, their benefits and how you can be a part of the efforts to protect and help over winter these bees, ensuring fruit tree pollination and delicious apples for seasons to come.
There are many types of apples, over 7,000 varieties, but apples are generally categorized into three main groups: cider, cooking and dessert varieties. Apples have a moderately sweet, refreshing flavor and a tartness that is present depending on the variety. For example, Golden and Red Delicious apples are mild and sweet, while Pippins and Granny Smith apples are notably tart. Tart apples, which best retain texture during cooking, are often preferred for desserts like apple pie. Varieties like Red Delicious, Gala and Honey Crisp apples are usually eaten whole for snacking.
Speaking of snacking, when you eat a whole apple you are provided with vitamin A, C, fiber and antioxidants. Apples have been shown to lower blood sugar levels in the body, which is very important for proper digestion.
Here are some tips about apples. When looking for apples pick the apples that are firm with rich coloring. Yellow and green apples should have a slight blush when ripe. Keeping apples cool will preserve their moisture and nutrients. Apple skins are high in nutrients so consider leaving the skin on during snack preparation and don’t forget that squeezing a little bit of lemon juice on a cut apple will prevent it from turning brown.
 Sources for apples and farmer’s markets, including the one which happens on the front lawn at Phipps can be found here Farmers at Phipps, hosting organic farms such as Blackberry Meadows and Clarion River Organics.
Remember that organic produce is generally considered the best, especially when you are going to eat the skin!
Since fall is the season for apple harvest, check out some of the apple festivals happening all across the state.
Here’s a quick and tasty apple snack: 5 minute prep
Ingredients:
1 apple, sliced
3 tbsp of almond butter
1 cup granola
Cinnamon to taste
Directions:
- Spread one side of sliced apple with almond butter and sprinkle with cinnamon.
- Dip the apple slices into granola to cover the almond butter. Yogurt for dipping is optional-
Still Time to Plant a Fall Crop
Just as the mid-summer vegetable garden is at its zenith, starting in mid-July, you can start preparing for fall and winter crops. As the summer crops dwindle away, harvest them, top-dress with compost, and directly replace them with seed or seedlings. This is a great way to keep your planting beds full throughout the year. You may want to hang onto the last cucumber on the vine, but to have a successful fall garden, rip out the last of the summer crops and fill out the bed with something you will enjoy later.
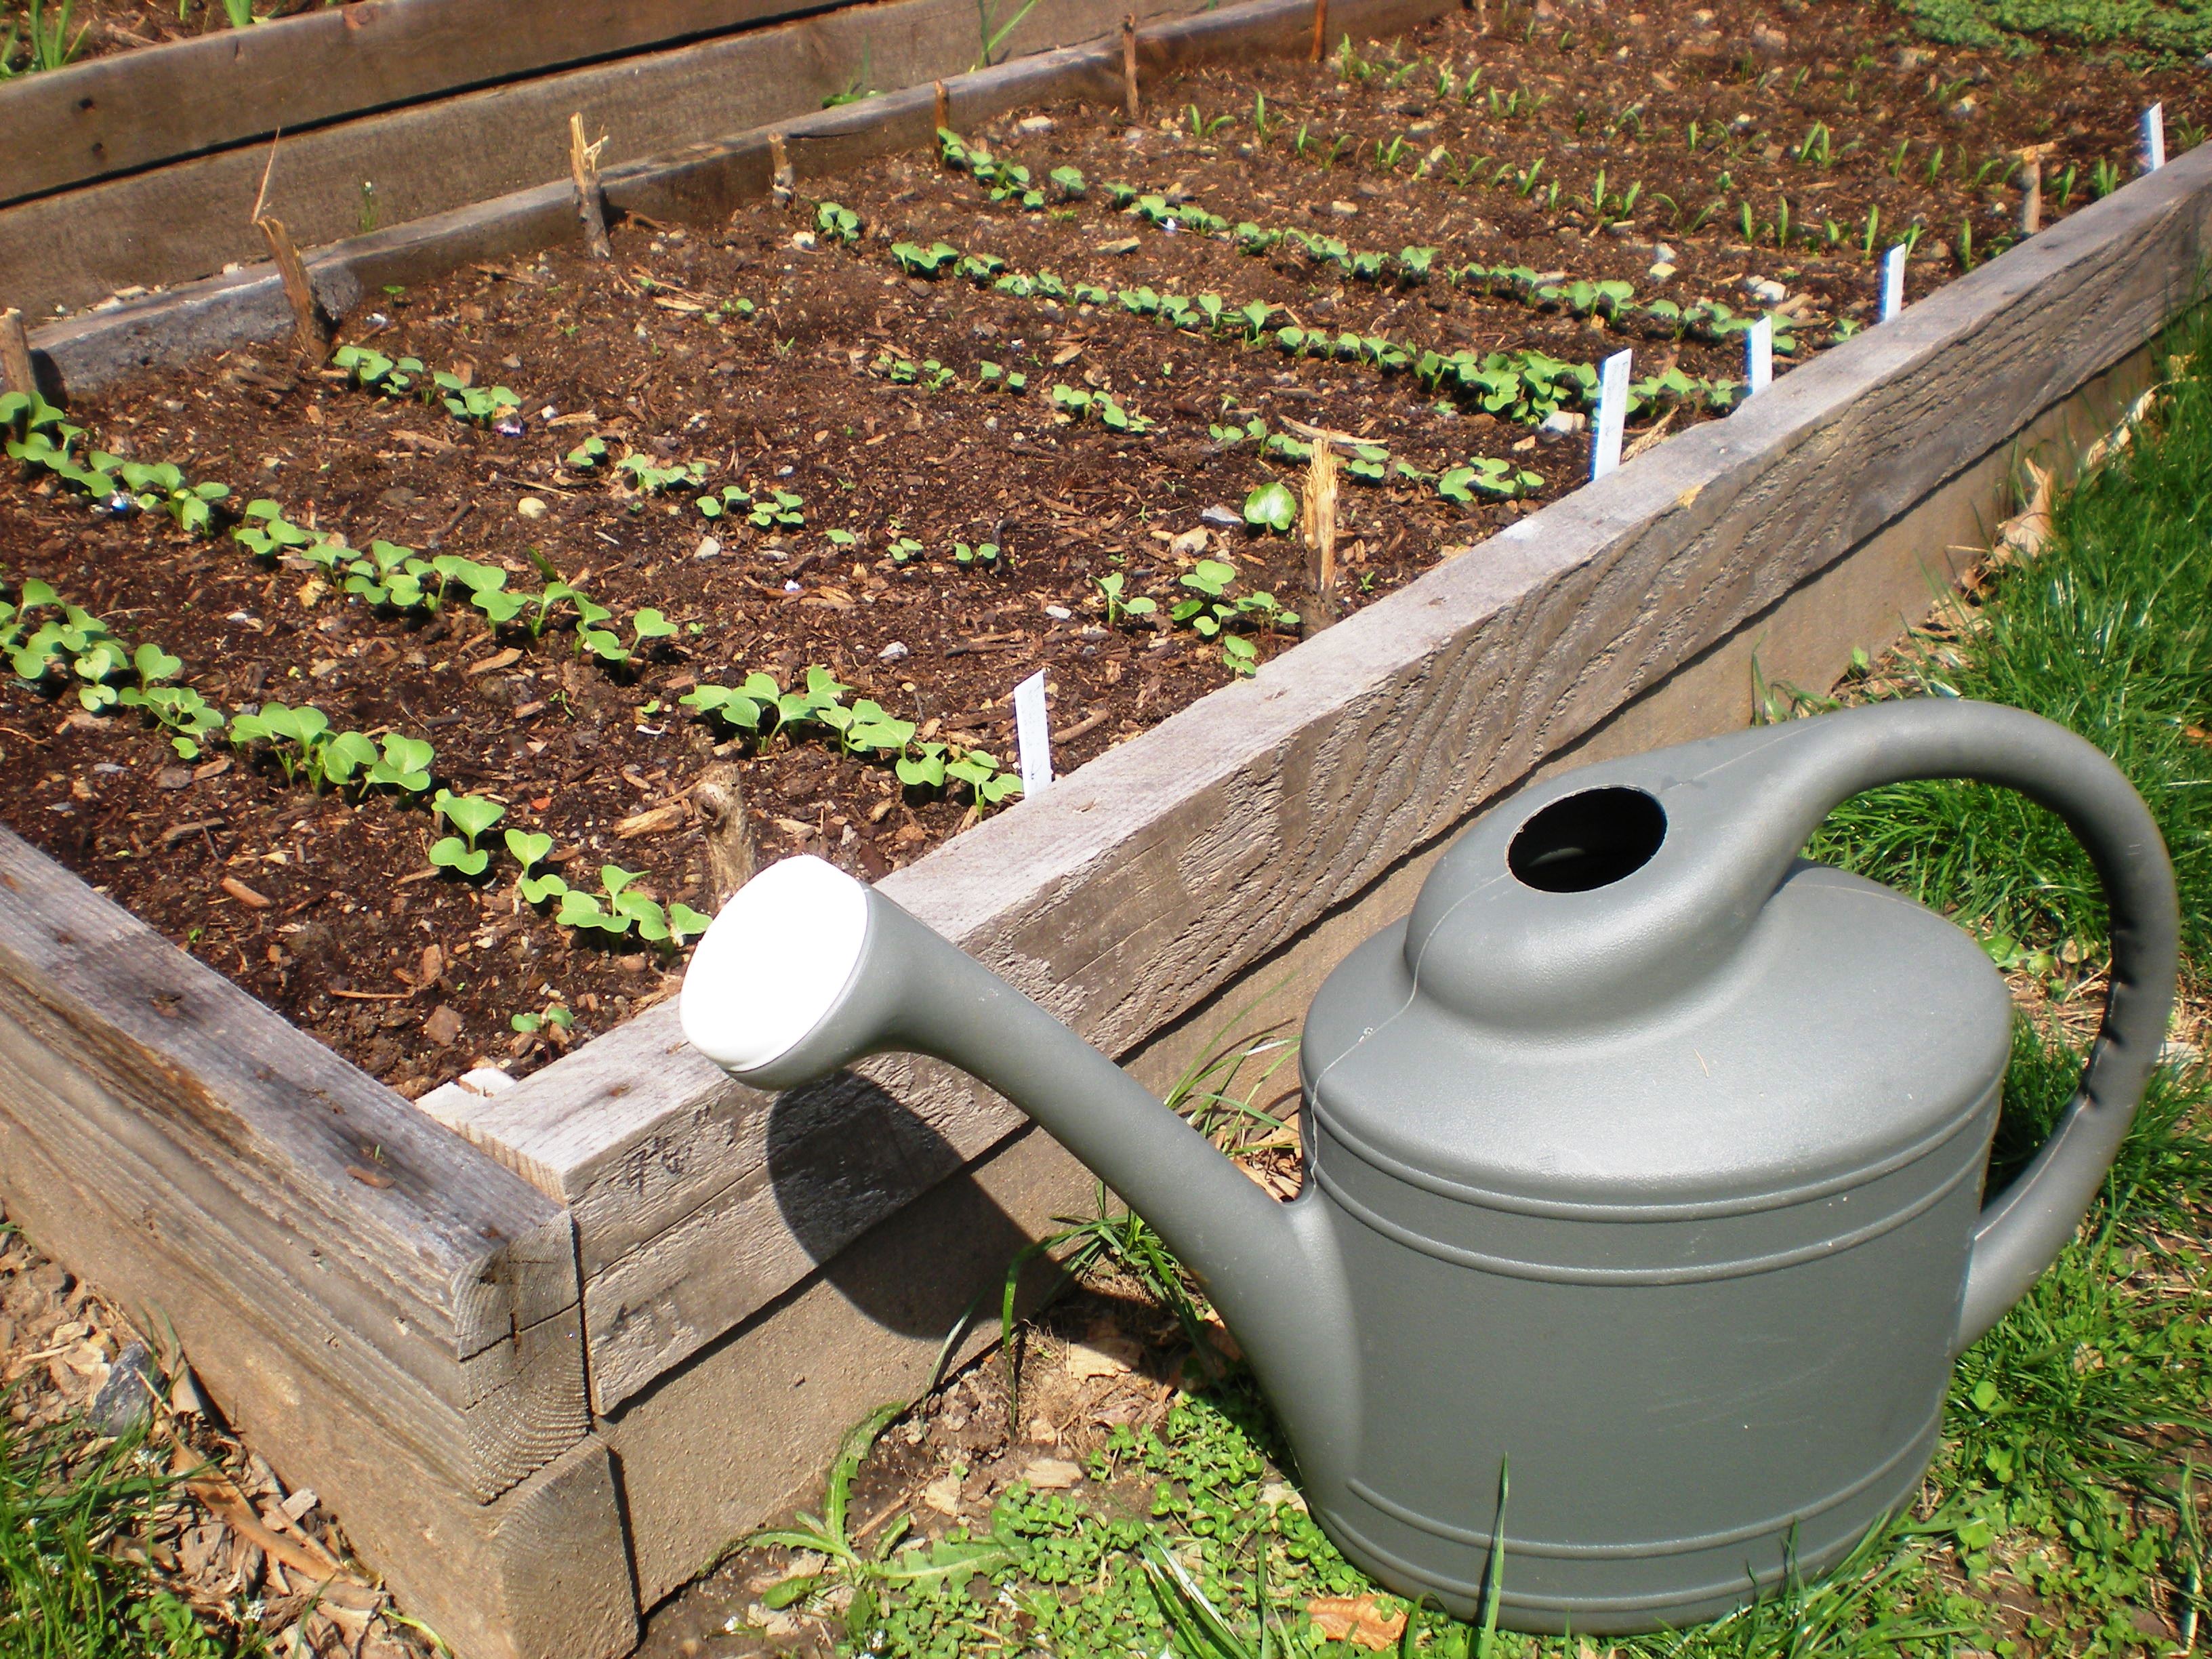
Radish and Spinach Sprouts
While summer is ideal to start your fall garden veggies, you can also find success in the fall with quick crops typically associated with the Spring.. The Brassicaceae, or cabbage family, provides a lot of options for fall planting. This family includes cabbage, broccoli, kale, collards, radishes, mustard greens and turnips, and all of them can be planted in the fall. Diversity can also help your garden by promoting healthy soil, so break up the brassica planting with carrots, beets, onions, peas, lettuce or spinach.
Some of these leafy greens can be harvested “cut and come again” style. After they are initially cut for harvest, they will keep sending out leaves for multiple harvests. Greens such as mizuna, baby kale and leaf lettuce can be harvested throughout the fall. Planting for fall is a great way to keep your family eating fresh for a longer period throughout the year.
September: Think Ahead
Are you new to Homegrown Challenges? If so, click here for more information.
In September we’re in the thick of gardening season; cold temperatures and next year’s garden still seem far away. But, now is the time to think ahead! We can use the bounty of today to prepare for the coming months- to plant new crops for cooler temperatures, fill the pantry for winter, or get ready for starting seeds next year.
Follow the September challenges below to think ahead. When you do, snap a photo and let us know. Submitted challenges count towards admission to a free celebration at Phipps Conservatory, and entry into this month’s drawing to win four free passes to Phipps!
TASTE: Try a local canned good from the farmer’s market.
Look for jams, jellies, salsas, or other delicious local canned goods. Click here to find a Farmer’s Market near you in the Pittsburgh region.
GARDEN: Save seeds from your crops, or plant fall vegetables.
Click here to learn how to save seeds from different vegetables, then try making your own seed packets! We also have tips on planting for a fall harvest and late fall gardening.
VISIT: Attend a seed-saving class, seed swap or canning event.
MAKE: Preserve something you grew or bought at the farmer’s market.
Put up some of your harvest for later by freezing, canning, or pickling. Try our recipe for pretty pickles or simple strawberry jam.
Have another idea? If you have an idea for a different activity, or you want to take it a step further, go ahead! Just send us a description and photo, and if it relates to the theme we’ll count it.
All submissions should be sent to homegrown@phipps.conservatory.org, and include a photo, your name, and the challenge(s) you completed.
Make Your Own Seed Catalogs
As the end of the summer harvest season draws near, it’s time to think about what your family can do to prepare for next year’s growing season. One fun way to involve children in the delightful cycle of home gardening is to allow them to help you save your seeds! Seeds from homegrown fruits and vegetables are easy to save, and you’ll be able to enjoy fresh produce next year without having to buy all new seeds. Most seeds are simple to save, as long as you dry them completely. Your children can help to scoop the seeds from your fruits and veggies or help you wash them and lay the seeds out to dry! Remember that hybrid seeds cannot be saved but open-pollinated seeds can. Some examples of open-pollinated seeds include heirloom tomatoes, peppers and peas. To learn about how to save them, read our blog post here.
If the seeds you have are a bit more complicated to preserve follow this link here, which has detailed instructions for a budding seed-saver.
 Another way to engage your children is in the botanical side of seed saving. Have them compare and contrast the shapes, sizes and textures of different seeds. After some discussion, prompt them to see if they can identify seeds or ask them to describe the differences between a tomato seed and a pepper seed.
Designing seed envelopes is also a fun, artistic activity for kids that gets them more involved in the gardening process. If your children are interested in decorating the packets, start with plain, white paper (a thicker variety will be hold up better, similar to scrapbooking paper or cardstock). Otherwise, use whatever colored or patterned paper you would like. After you have your paper, follow the design instructions here.
 Come next spring, a great way to see if your seeds are still viable (able to grow) is to make seed necklaces, a fun craft we often do here at Phipps! Simply have your children take a seed, wrap it in a piece of a moist paper towel (about one square inch) and enclose the entire seed in a small Ziploc bag. They can then poke a hole through the bag (or an adult can poke the hole for the little ones!) Next, thread a piece of yarn, string or ribbon through the bag. Once the necklace is completed, tie it loosely around the child’s neck. The heat from their body and the dampness of the paper towel will cause a viable seed to germinate! If this seed germinates, the others in the same packet or group likely will as well.
If you decide to try out saving your seeds, send a picture of your family and their seed-saving activities to homegrown@phipps.conservatory.org
Saving Seeds
Before we could purchase seeds out of a catalog the only way to continuously plant crops year after year was to save seed to sow in the next season; we have been saving seeds since the Stone Age. There are still many reasons why we should save our own seed for future planting.
- Save money– spending money on seeds when you have your own supply seems silly, doesn’t it?
- Quality– Large seed companies will sell all seed instead of selecting for superior plants and traits. You can choose the best plants to save seed from and you will have control over the consistency and quality.
- Adaptation- Many commercial seeds unfortunately are selected to adapt across many geographical regions because they depend upon synthetic fertilizers instead of local conditions. If you use seed from your best quality plants grown on your land you will eventually grow varieties that are adapted to your soil, climate, and conditions.
- Seed Security- Due to large scale farming and monoculture, we have lost many varieties of seeds. By saving your own seeds you can continue growing unique varieties that may be discontinued or lost forever as the seed industry continues to consolidate varieties and focus on non organic hybrids.

In order to save your own seeds they must be dried and stored correctly. You know your seeds are dry if they break rather than bend when you apply pressure. There are different methods to prepare plants for seed saving. Try to use open-pollinated varieties for seed saving so you know the next generation will be true to the parent plant and you are not using a hybrid.
Tomatoes and Cucumbers – are both coated in a gel so they need to be fermented before saving.
- Fermentation process:
- Remove the gel covered seed mass and place in a waterproof container
- Add enough water to equal the volume of the seed mass
- Place container in warm spot but not in sunlight
- Stir contents once a day (it will smell bad!)
- In a few days viable seeds sink to bottom and bad seeds, mold, and debris will float to the top
- Wait 5 days for all good seeds to drop
- Wash viable seeds in several batches of fresh water
- Lay out in single layer on a plate or screen
- Place plate in warm place until seeds are completely dry (may take several weeks)
Peppers
- Brush seeds off the central stem
- Place on a plate or screen in a single layer
- Put aside to dry
Melons and Squash
- Rinse seeds (rub between fingers to remove all debris and fiber)
- Place seeds in a single layer on a plate or screen
- Put aside to dry
Peas and Beans
- Pick brown-pods from the vine and remove the seeds
- Place in single layer on plate or screen
- Air dry for 6 weeks
August: Share the Bounty
Are you new to Homegrown Challenges? If so, click here for more information.
August is a month of bounty for the vegetable gardener- tomatoes and peppers ripen, green beans are ready, basil is full and fragrant, and many other vegetables are ready for harvesting. When your garden is at its peak, it’s a great opportunity to share! There are lots of reasons to share your garden produce with others- maybe you have more zucchini than you know what to do with, you want to share the joy of a fresh picked tomato with a friend, or help make sure everyone has a chance to eat healthy veggies at home.
Follow the August challenges below to share the bounty. When you do, snap a photo and let us know. Submitted challenges count towards admission to a free celebration at Phipps Conservatory, and entry into this month’s drawing to win four free passes to Phipps!
TASTE: Host a potluck with friends.
It’s always fun to share food with friends; consider a theme like a pico potluck!
GARDEN: Share some of your garden produce with neighbors.
VISIT: Volunteer at a garden, or with an environmental organization.
MAKE: Collect produce and other foods for the Greater Pittsburgh Community Food Bank.
Phipps’ Tomato and Garlic Festival supports the Food Bank; donate your collected food at Phipps, and stay to enjoy the festival!
Have another idea? If you have an idea for a different activity, or you want to take it a step further, go ahead! Just send us a description and photo, and if it relates to the theme we’ll count it.
All submissions should be sent to homegrown@phipps.conservatory.org, and include a photo, your name, and the challenge(s) you completed.
